Accessing the Bitwarden Extension
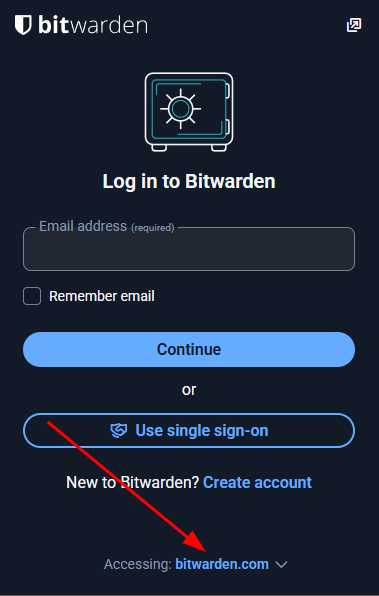
Your school device has the Bitwarden extension installed within Edge, but wait!!! Before you type in your email, there is a setting you need to change. Click where it says "Accessing: bitwardent.com" as shown in the screenshot.
You need to change this to Self-hosted. That will bring up a window, and in the top box, labeled "Server URL," type in: https://bw.wftigers.org
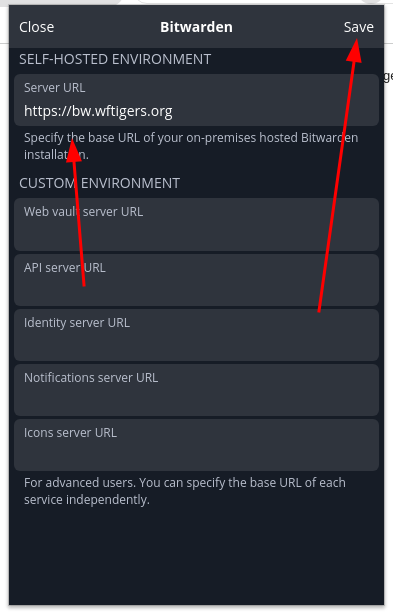
Then click on Save at the top.
You should then get a green confirmation notice at the bottom, and it should say Self-hosted under the email address box.

Now go ahead and type in your email address! I also click the "Remember email" checkbox.
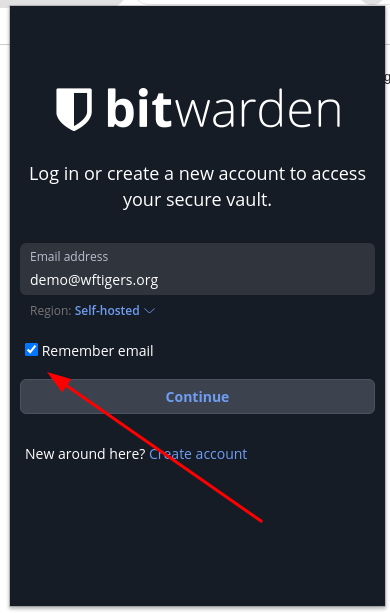
Then click on Continue.
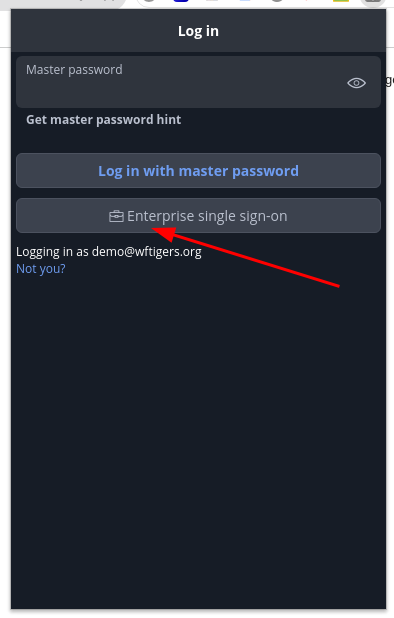
On the next page, you need to click on the "Enterprise single sign-on" button. That will take you to a Google page (unless you are already logged in). Complete the Google authentication and any two-factor that is required.
You will then get this screen:
This just means you may now open the extension, and then type in your master password, and click on "Unlock"
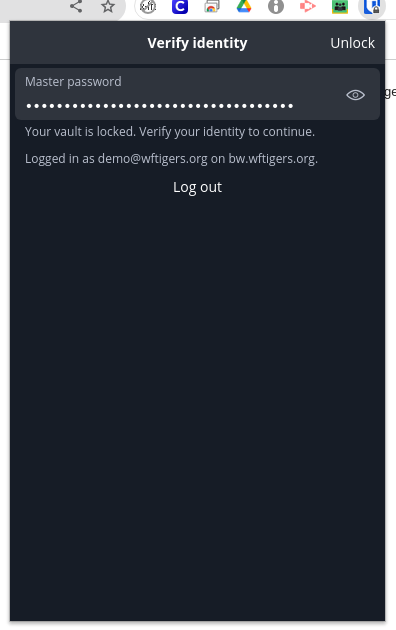
You will now be presented with your Bitwarden vault and other options.

No comments to display
No comments to display